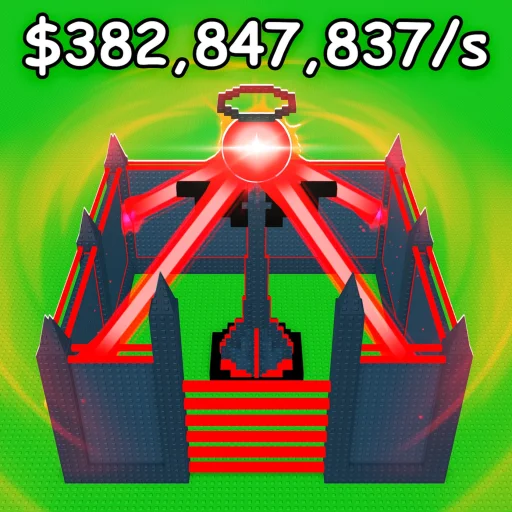
Proximity Mines Tier
Hidden burst trap introduced April 2026 — pair with reinforced steel.
Proximity mines are hidden burst traps introduced to Build to Defend Loot in the April 2026 patch by TwoBrothers Games. They trigger when raiders walk within range, dealing heavy damage and stunning the target — the perfect foil to the same-patch reinforced steel walls. This page covers placement math, optimal coverage, and how proximity mines stack with plasma turrets for the late-game vault.
If you are still learning the basics, read getting started first, then defense and traps.
What proximity mines do
Proximity mines are stealth ground traps:
- Trigger when a raider walks within range — invisible until triggered.
- Damage — high single-shot burst that often forces a health kit pop.
- Stun — adds 1–2 seconds of immobilization, during which turret fire guarantees hits.
- Cost per placement — cheap compared to reinforced steel walls, but must be rearmed after each raid.
The combination of burst damage + stun is what pushes proximity mines into the S-tier alongside plasma turrets in the defenses tier list.
Where to place proximity mines
Placement matters more than quantity. Use this checklist:
- Inside reinforced steel kill boxes — Place mines on the tiles raiders must walk after breaching reinforced steel. The wall buys time; the mine spends it.
- At chokepoint corners — Raiders pause to orient at corners; mines there trigger while they are stuck.
- Behind visible decoy traps — Raiders spend trap counters on obvious spike lanes, leaving proximity mines untouched for the deeper approach.
- Around OG loot beacons — Proximity mines around OG vault cores compound the raid risk and discourage opportunistic heists.
- Avoid outer rings — Mines in outer yards get blown up before the raid starts. Save them for the inner kill zone.
Pairing mines with other defenses
Proximity mines shine when combined with the rest of the late-game toolkit:
- Mines + reinforced steel — The April 2026 meta-defining combo. Wall delays; mines convert delay into damage. See reinforced steel tier.
- Mines + plasma turrets — A stun lets the plasma turret chain two or three guaranteed 55-damage shots before the raider recovers.
- Mines + lava moat — When raiders are slowed by lava, mines trigger more reliably. See lava defense for grid layouts.
- Mines + freeze trap — Stack a freeze trap near a mine so raiders are locked in place while the mine bursts.
Cost and rearm math
Proximity mines are cheaper than walls but single-use:
- Rearm cost depends on patch and shop rotation — confirm on patch notes.
- Track rearm cost against raid value: a single mine that detonates against a full raid loadout often pays for itself by destroying one C4 or health kit’s worth of value.
Treat mines like consumable inventory, not permanent structure. After a raid, log in, check detonated mines, and rearm before logging out.
Proximity mines vs spike lanes
Both are ground-level trap layers, but they serve different roles:
- Spike lanes — Visible, repeatable damage, telegraphed. Force raiders to use trap counters.
- Proximity mines — Hidden, burst, one-shot. Force raiders to walk blind after the first breach.
A common top-base layout uses outer spike lanes (telegraphed) to absorb raid trap counters, then inner proximity mines (hidden) to punish raiders who already spent counter charges.
Proximity mines vs laser walls
Laser walls freeze traps and turrets for a window — useful for defenders and raiders alike. Proximity mines do not interact with freeze: a stunned raider still takes mine damage. That makes mines a hard counter to the laser-wall meta: even when walls freeze turrets, mines finish the job.
For more on laser wall tactics, see defense and traps guide.
Mistakes to avoid
- Outer yard mines — Raiders destroy them with cheap C4 before they ever trigger.
- Single-file mine lanes without walls — Raiders jump past mines if no wall funnels them through.
- No rearmining — Top raiders learn your kill box and breach from unexpected angles. Add mines behind common fallback paths.
- Forgetting to rearm — Mines are consumables; offline income stalls if you log out without refilling.
Synergy with rebirth and codes
- After rebirth, re-check conveyor unlocks — some patches keep owned mines, others reset trap inventories.
- Future codes redemption is not live yet; bookmark the page so any cash codes can fund rearm cycles.
Related pages
- Tier list hub
- Defenses tier list
- Reinforced steel tier
- Plasma turret tier
- Loot tier list
- Base building guide
- Defense and traps guide
Proximity mines turn reinforced steel walls into kill zones. Hide them well, pair them with plasma turrets, and rearm after every raid — they are the unsung heroes of late-game defense.
Frequently Asked Questions
Quick answers to the most common questions.
When were proximity mines added to Build to Defend Loot?
April 2026 patch by TwoBrothers Games, alongside reinforced steel walls. Both reshaped the meta toward layered trap corridors.
Do proximity mines stun raiders?
Yes — proximity mines deal heavy burst damage and stun the target for 1–2 seconds. The stun lets turrets land guaranteed follow-up shots.
Are proximity mines reusable?
No — proximity mines detonate once and must be rearmed. Treat them as consumable inventory; rearm after every raid before logging out.
Where do proximity mines work best?
Inside reinforced steel kill boxes, at chokepoint corners, and behind visible decoy traps. Avoid outer yards where raiders can pre-destroy them.
Do laser walls disable proximity mines?
No — proximity mines still detonate even when laser walls freeze traps and turrets. They are a hard counter to the laser-wall meta.
How many proximity mines should I place?
Cluster mines at the inner kill zone rather than scatter across the base. Two to four mines in a reinforced steel kill box outperform a dozen spread loosely.